Create barcodes from Excel
Labeljoy is a specialized barcoding software.
To generate a barcode, select the desired barcode type and enter the data sequence, which can be numeric or alphanumeric.
This data can be entered manually or imported from external sources, such as an Excel file or databases such as MySQL, and Oracle among others.
Because of its usability, flexibility, and processing power, Excel is widely used in businesses to create pricelists, catalogs, and directories. But it is also possible to obtain Excel format files with alternative software such as OpenOffice, Google Sheets, and others, without necessarily having to purchase the Office package.
This brief tutorial will show how combining the use of Excel with Labeljoy is most effective for creating and printing barcode labels.
The Excel File and the link to the data source
Starting with the Excel sheet to create barcode product labels: For this example, we will be using EAN 13 (GTIN-13); so there is a column containing a series of numbers (12-digit string to be exact), a price column, and a column for item description.
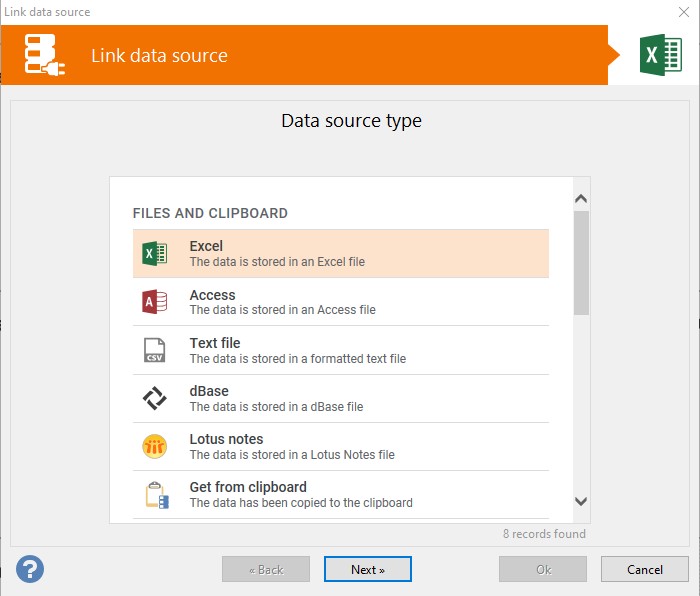
The next step is to create a data connection; select Excel and proceed.
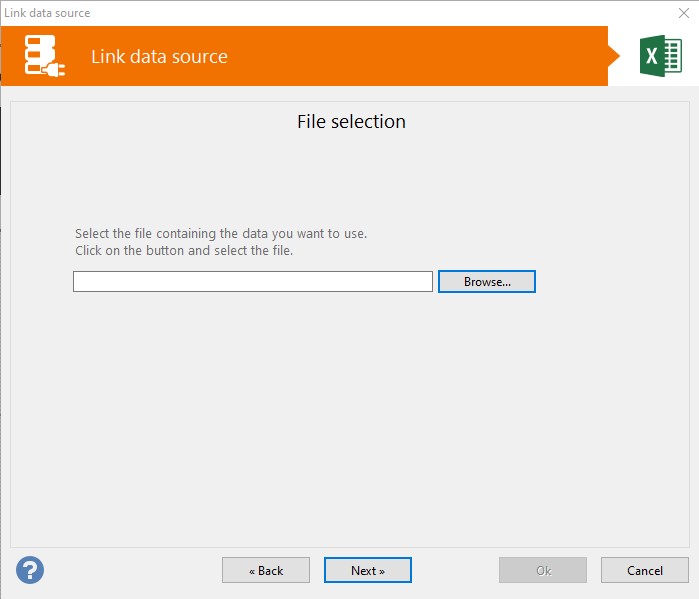
In the next screen, choose the file for data connection within this Labeljoy job.
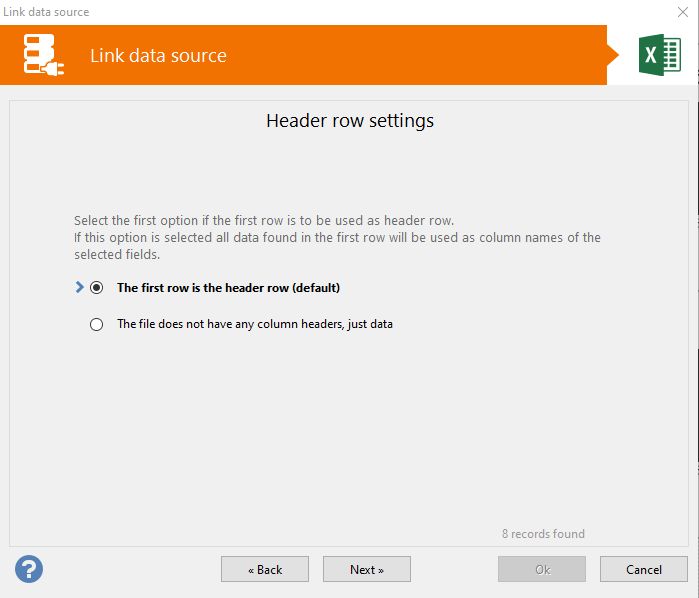
If the first row of your file contains the column names (headers), select the first option, if no column names are present, the default names from the Excel sheet will be used (option 2).
At this point, simply click Next until you reach the next screen.
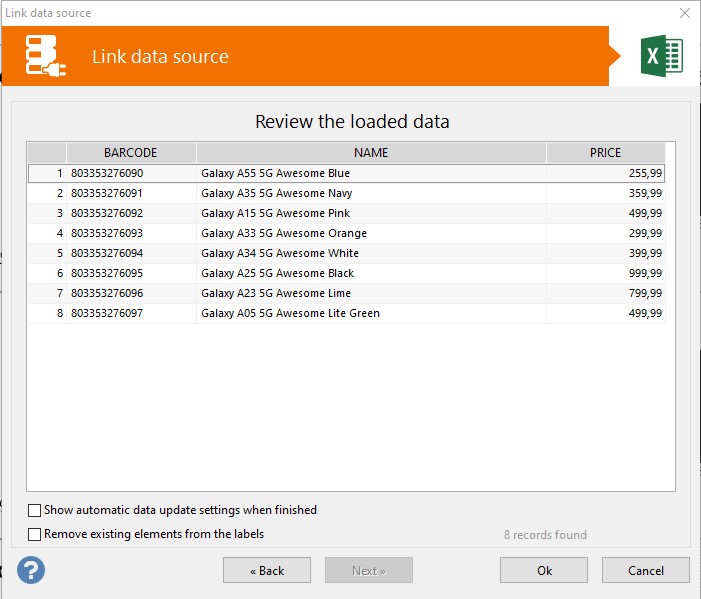
This is the preview of the data that will be loaded onto the labels; a label will then be created for each row on the list.
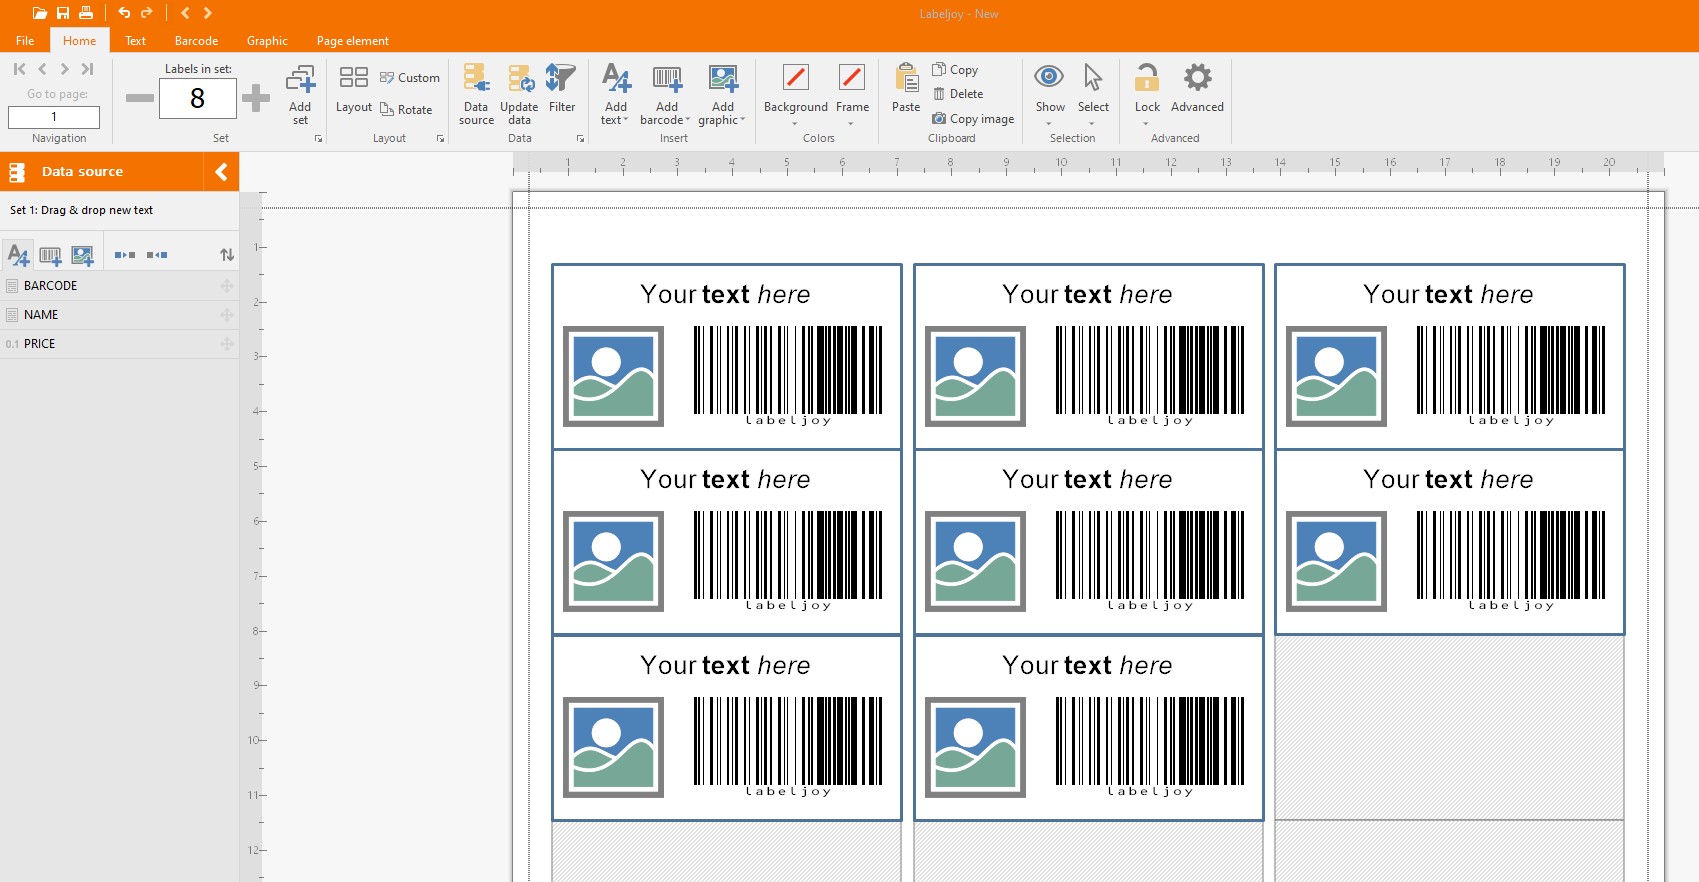
When the wizard is finished, you return to the main screen of the Labeljoy software, and you will see that the number of labels created is equal to the number of rows on the Excel sheet.
How to link Excel data to elements on the Labeljoy label
There are several ways to link data, here is a simple example.
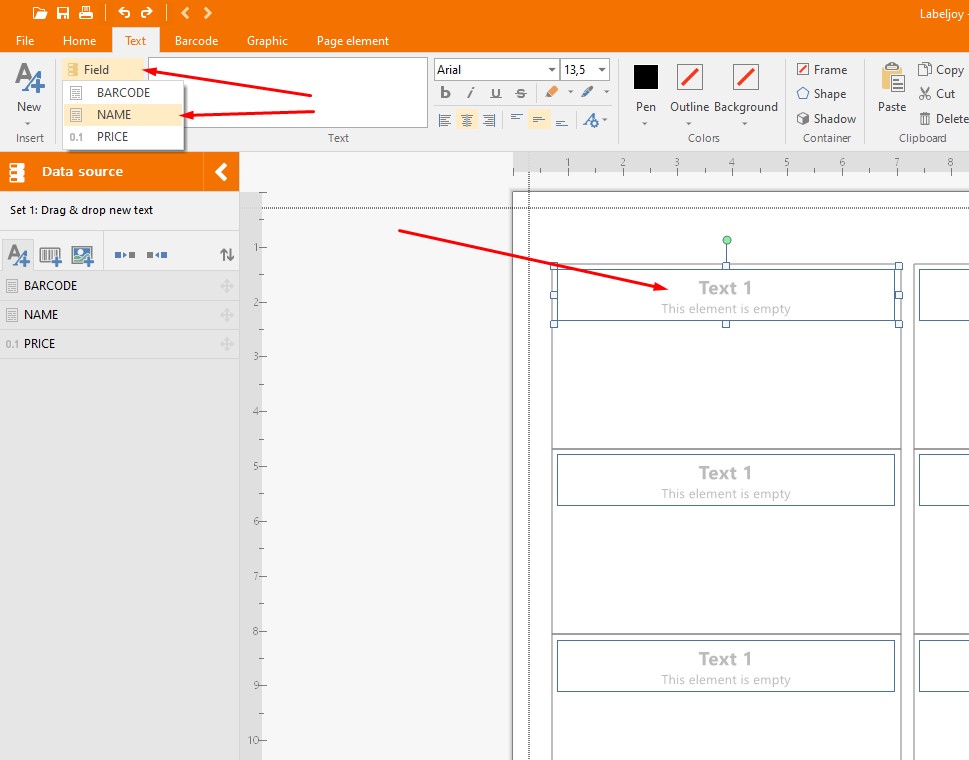
The red arrows indicate the use of the fields (Excel Columns). Within the fields there is a column called NAME and to the right one of the first elements entered (text element) is indicated.
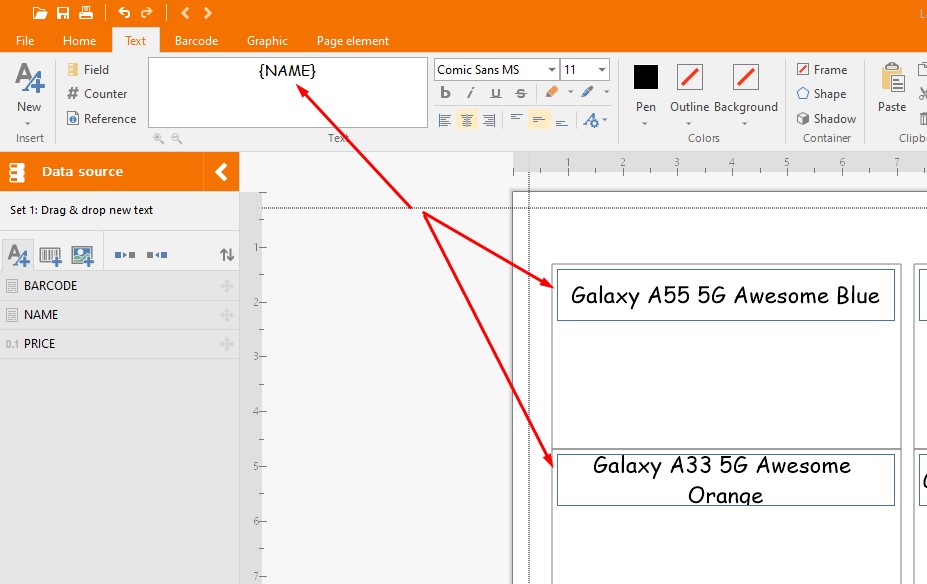
At this point just select the NAME field to obtain the following.
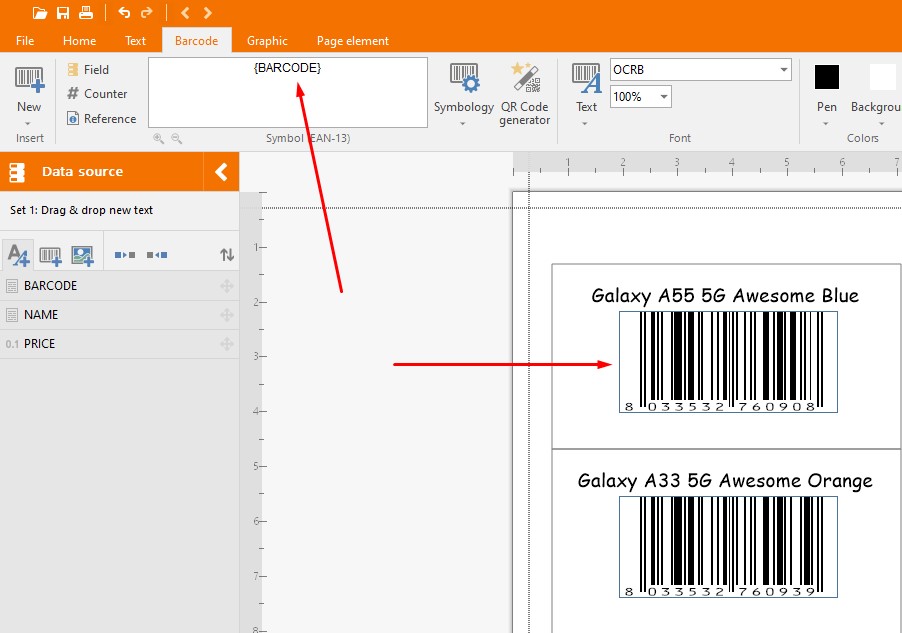
Now follow the same procedure for the Barcode element, select EAN 13 and associate the BARCODE field with it, achieving the result in the below image.
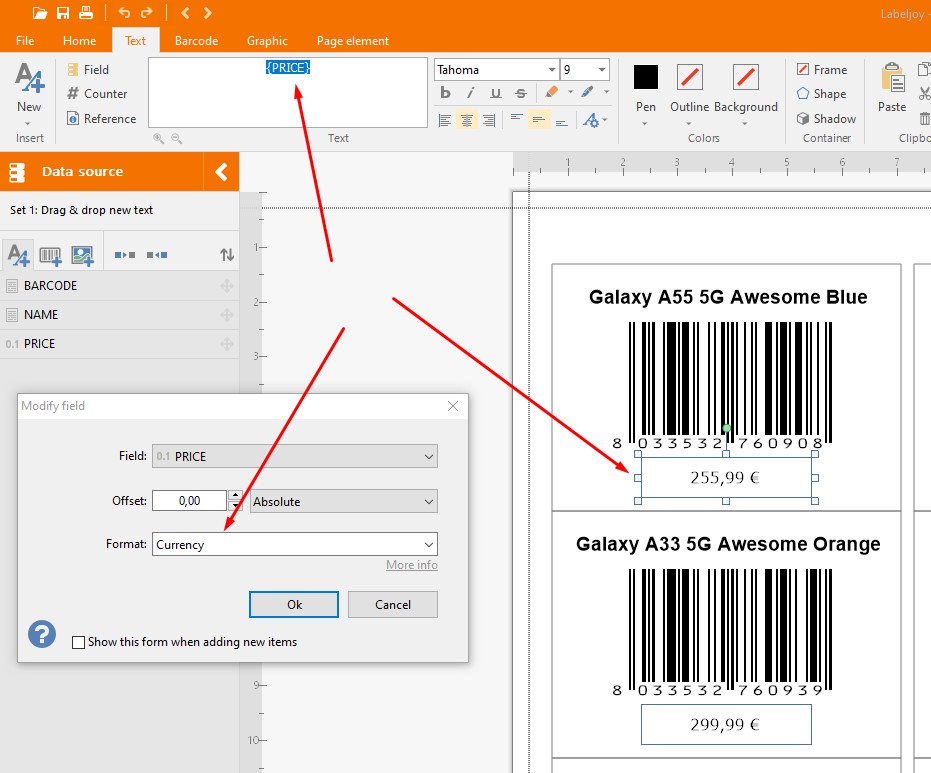
As a final step, create an additional text element and associate the PRICE field. Since this is a price element it would be necessary to customize the formatting, choosing a currency.

